Are you ready to take your kids on an exciting scientific journey? Give them the opportunity to explore, experiment, and discover their natural curiosity with easy science experiments they can do right at home or at school.
With just a few easy-to-find materials, you can conduct 21 amazing experiments that are sure to spark a life-long interest in science and engineering.
We have designed each experiment with easy step-by-step instructions as well as safety guidelines to ensure your kids will be safe while they’re learning.
From making music using balloons and straws to building a working model of the solar system, your kids will be fascinated and engaged with these easy science experiments. And best of all, they’ll gain valuable knowledge and skills that they can use in the future!
After reading this article you’ll know about:
These 21 experiments will help you diversify your lessons and instill in your children a love of your subject.
| Experiment | For Whom |
|---|---|
| 1. Exploring Surface Tension → | Age: for all ages Subject: Physics |
| 2. Homemade Slime → | Age: for all ages Subject: any subject |
| 3. Sink or Float? → | Age: for young kids Subject: Chemistry, Physics |
| 4. Mixing Impossible → | Age: for elementary students Subject: Chemistry |
| 5. Exploring Colors With Baking Soda / Vinegar → | Age: for elementary students Subject: Chemistry |
| 6. Apple Oxidation → | Age: for all ages Subject: Chemistry |
| 7. Static Electricity Hair → | Age: for all ages Subject: Physics |
| 8. Water Cycle In A Bag → | Age: for all ages Subjects: Physics, Chemistry, Biology |
| 9. What’s That Mystery Object? → | Age: for all ages Subject: any subject |
| 10. Sugar Water Rainbow → | Age: for middle schoolers Subject: Chemistry |
| 11. Painted Nature → | Age: for all ages Subject: Biology |
| 12. Magnet Dump → | Age: for young kids Subject: Physics |
| 13. Traveling Rainbows → | Age: for any age Subject: Chemistry |
| 14. Will It Melt? → | Age: for any age Subjects: Chemistry, Physics, Biology |
| 15. DIY Parachute → | Age: for any age Subject: Physics |
| 16. Steel Wool & Vinegar Reaction → | Age: for middel schoolers Subject: Chemistry |
| 17. Invisible Paint → | Age: for any age Subject: Chemistry, Physics |
| 18. Orange Fizzle → | Age: for any age Subject: Chemistry |
| 19. The Magic of Dry Erasing → | Age: for all ages Subject: Chemistry |
| 20. Exploding Soaps → | Age: for all ages Subject: Biology, Chemistry |
| 21. Floating Eggs → | Age: for young schoolers Subject: Physics |
Let’s not beat around the bush and get right to the point!
1. Exploring Surface Tension
Age: for all ages
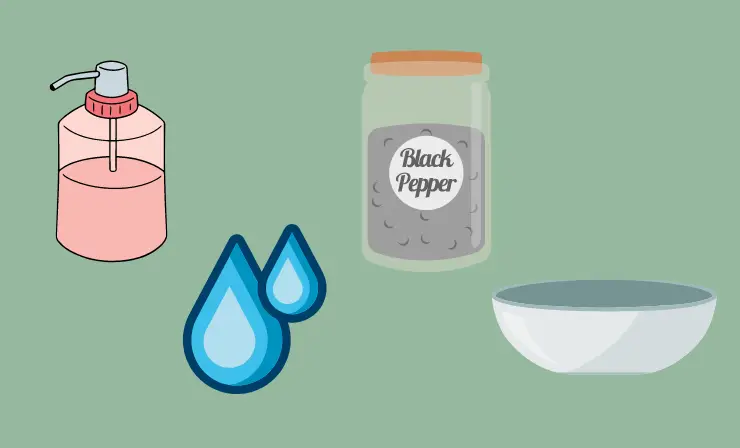
Kids of all ages can explore the amazing power of surface tension with just water, soap and black pepper! Through this simple experiment, they’ll start to discover one of science’s most fascinating principles.
What’ll You Need:
- Black pepper
- A plate or bowl
- Water
- Liquid soap
Instructions:
- Gather the materials needed for the experiment, including a plate, pepper, and liquid soap
- Fill the plate with a thin layer of water that is less than an inch deep
- Sprinkle pepper on to the water, so it covers as much of the surface as possible
- Dip your finger into liquid soap and touch the pepper
- Observe what happens when you break up surface tension with soap
- Discuss why this happened and explain how molecules interact in different ways due to surface tension
- Summarize easy science experiments for kids that can be done safely at home or school
Watch this video to get a full understanding of this experiment.
Subject: Physics
2. Homemade Slime
Age: for all ages
Kids of all ages are going wild for slime. This easy-to-make recipe lets you whip up your own batch right in the kitchen, allowing hours and hours of slimy fun. If there’s one classic science experiment, every family must try at least once – it has to be making their very own homemade slime.
What’ll You Need:
- Water
- White school glue
- Food coloring
- Borax
- Two bowls

Instructions:
- Gather the materials needed for the slime, which include 1/4 cup of water, 1/4 cup of white school glue, food coloring (optional), 1/2 tablespoon of borax and 1/2 a cup of water.
- Mix together the water and white school glue in a bowl until combined. If desired, add food coloring to the mixture to make it colorful.
- In a separate container, mix together the borax and water until all the borax is dissolved into solution form.
- Slowly pour the borax solution into your glue mixture while stirring continuously with a spoon or spatula until completely blended together.
- Knead your slime with your hands until it becomes stretchy and easy to manipulate.
For variations on this classic recipe, you can use glow-in-the-dark glue for glow in dark slime or glitter for sparkly glittery slime! Store your homemade slime in an airtight container when not using it so that it stays fresh longer. Watch this video to fully understand the process of creating a slime.
Subject: any subject.
3. Sink or Float?
Age: for young kids
Bring metamorphic magic alive with an awesome science experiment perfect for kids of all ages, especially the young ones! It’s a fantastic way to begin exploring fascinating density concepts and is sure to become one of your family’s favorite activities.
What You’ll Need:
- Two glasses of water
- Small items from around the house
- A piece of paper and a pen
Instructions:
- Gather materials – two large clear containers, small items from around the house
- Ask children to write down a list of objects and predict if they’ll sink or float
- Place each object in one container at a time and observe whether it sinks or floats
- Compare results with their hypothesis
- Discuss the scientific method with your kids
- Ask them if there is anything else they would like to test
- Have fun exploring!
I suggest you watching this video.
Subject: Chemistry, Physics
4. Mixing Impossible
Age: for elementary students
This super easy experiment involves mixing equal parts oil and water and adding a drop of food coloring to see what happens. Kids will love watching the food coloring make it through the oil. You will love how easy it is to set up and clean up.
What You Need:
- Several drinking glasses
- Water
- Vegetable oil
- Liquid food coloring
- A toothpick (if you have it)
Instructions:
- Explain that in this experiment, we will be mixing oil and water together to observe what happens
- Get a drinking glass, about ½ cup of oil, about ½ cup of water, and one drop of water-based food coloring
- Ask the children what they think will happen when you mix oil and water together before pouring the oil into the glass
- Then pour the same amount of water as you did with the oil into the same glass
- Watch how both liquids separate from each other
- Have your child put a drop of food coloring in and observe (if it needs encouragement to move downward, use a toothpick)
- Ask which is denser; the water-based drop or oil (the drop should sink, showing its denser than oil)
- Talk about why this happened by discussing two objects that are different weights but have similar sizes; if something sinks in water, it is denser than if it floats
- Clean Up
Explore the mixing properties of oil and water. Grab your friend and try the science project.
Subject: Chemistry
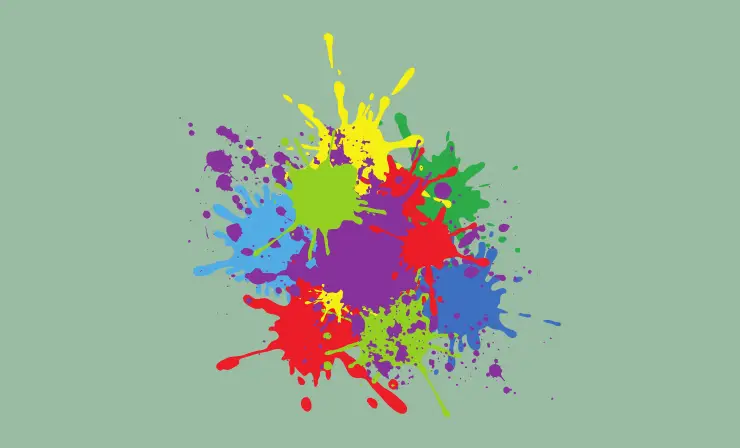
5. Exploring Colors With Baking Soda / Vinegar
Age: for elementary students
Kids can have a blast with this activity, combining chemistry and art. They’ll get to make magic by creating an exciting chemical reaction, learn the fundamentals of color mixing, then transform it all into one-of-a-kind artwork. It’s an educational trifecta that will spark creativity in scientists both big and small.
What You’ll Need:
- Tray (A baking sheet will do)
- Baking soda
- White vinegar
- Ice Cube Trays or other containers to hold the colored vinegar
- Pipettes or eye droppers
- Liquid watercolors or food coloring
Instructions:
- Invite your little scientists to a fun and fizzy adventure
- Provide each child with their own tray of baking soda, then fill an ice cube tray or other container full of vinegar that’s been infused with vibrant liquid watercolors.
- Allow them to use the pipette for eye-dropping colorful drops onto the heaping trays – watch as the exciting reaction takes place before your eyes
- Repeat this process until all colors have been explored; it promises hours’ worth of entertainment (at least one reader said so!)
Enjoy quality time together while learning about chemical reactions in action.
Subject: Chemistry
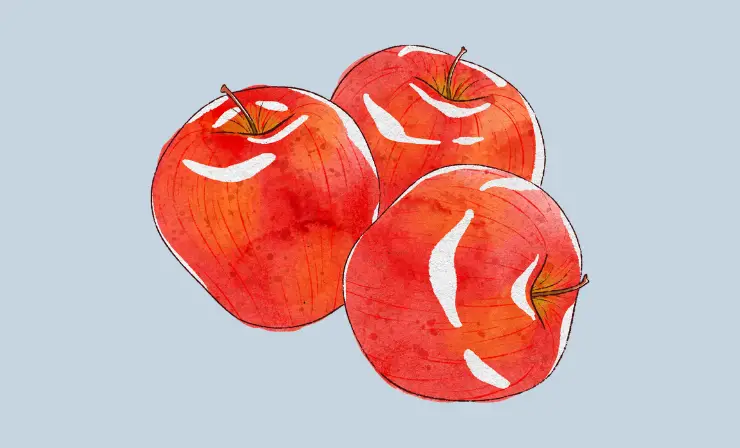
6. Apple Oxidation
Age: for all ages
Challenge the students to put their analytical skills to the test and explore what happens when apple slices are submerged in various liquids. Let them make educated guesses on how they think each liquid will affect the apples, then encourage them to document any changes with careful observations.
What You’ll Need:
- An apple
- Plain water
- Salt water (1/8 tsp of salt, 1 cup of water)
- Sugared water (1 tbsp of sugar, 1 cup of water)
- Honey water (1 tbsp of honey, 1 cup of water)
- Pure lemon juice
- Lemonade
- Apple juice
- Orange juice
Instructions:
- Read the text about apple oxidation with the “Apple Browning” passage and plan an experiment to test liquids for ascorbic acid.
- Gather materials needed for the experiment, including a variety of liquids (plain water, salt water, sugared water, honey water, pure lemon juice, lemonade, apple juice and orange juice).
- Slice an apple into small pieces.
- Immediately place one piece of sliced apple into each liquid bowl/cup/baggie and make sure it is covered by the liquid completely; leave one piece out of any liquid as a control variable.
- After 3 minutes, remove all apples from their respective bowls/cups/baggies and place them on a platter; record observations using the printable chart provided in free download or create your own chart if necessary
- After 6 minutes, observe apples again and record any new observations
- Check predictions against actual results from observation chart
- Complete reflection printable – students will use both details from text read in Step 1 plus their own observations to make conclusions about easy science experiments for kids involving apple oxidation
I suggest you watching this video before doing an experiment.
Subject: Chemistry
7. Static Electricity Hair
Age: for all ages
Give your kids an electrifying experience. Introduce them to the amazing world of static electricity in just a few simple steps – with this science activity that is sure to be both exciting and mess-free.
What You’ll Need:
- An inflated balloon
- A piece of cloth

Instructions:
- Rub a cloth against the surface of your balloon for 40 seconds to give it a static charge.
- When you hold it up above your head, marvel at how magically all the hairs on your head will be drawn irresistibly towards its captivating power.
When you rub a balloon against cloth, electrons travel from the fabric to generate an electrifying effect – quite literally.
The negatively-charged balloon is now magnetically drawn towards positively charged hair strands. Prepare for some gravity defying fun as your locks form a bond with this static-tastic surprise. Watch this video to learn more.
Subject: Physics
8. Water Cycle In A Bag
Age: for all ages
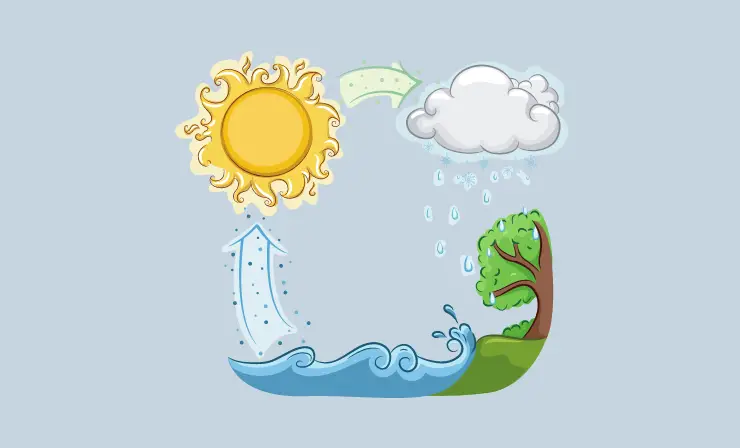
Kids will love this fun and educational experiment that demonstrates the power of nature’s water cycle – it couldn’t be simpler.
What You’ll Need:
- Zip lock bag
- Permanent marker
- Water
- Blue food coloring
- Clear tape
Instructions:
- Draw the clouds and sun on one half of your bag, then fill up a cup with water mixed in striking blue food coloring.
- Pour it carefully inside the bag before sealing tight so no droplets escape.
- Armed with tape, attach your masterpiece onto any window that gets plenty of sunshine – wait for two hours to witness drops clinging to its sides like rain descending from fluffy clouds above.
In our experiment, we watched it transform water from a liquid to an airborne gas and back again – all in one bag.
We witnessed the power of evaporation at work as the rays heated up the contents until they literally changed form due to condensation. It was remarkable how something seemingly so simple can demonstrate such complex science.
Watch how Jared did his own Water Cycle in a bag.
Subjects: Physics, Chemistry, Biology
9. What’s That Mystery Object?
Age: for all ages
See just how in-tune you are with your sense of touch as you explore the fascinating world of textures. In this experiment, challenge yourself to identify and distinguish between different materials by relying on one of your most vital senses.
What You’ll Need:
- A grown-up or friend to help
- A blindfold
- A “feely” bag that you can’t see through
- Small objects from around the house that have different textures, such as: a plastic bag, a water bottle, a banana, a piece of paper, a cell phone, a rubber ball, a cotton ball, a tooth brush, a washcloth, etc.
- Try to find objects of different materials like velvet, wool, cotton, leather, metal objects, wooden spoons or toys, pieces of aluminum foil, and other interesting objects and textures

Instructions:
- Blindfold your student and start fill your bag with secret objects.
- It’s time to put those detective skills—and sense of touch.
- See if your students can figure out what each mysterious item is without seeing it.
Watch how fun this experiment may be!
Subject: any subject
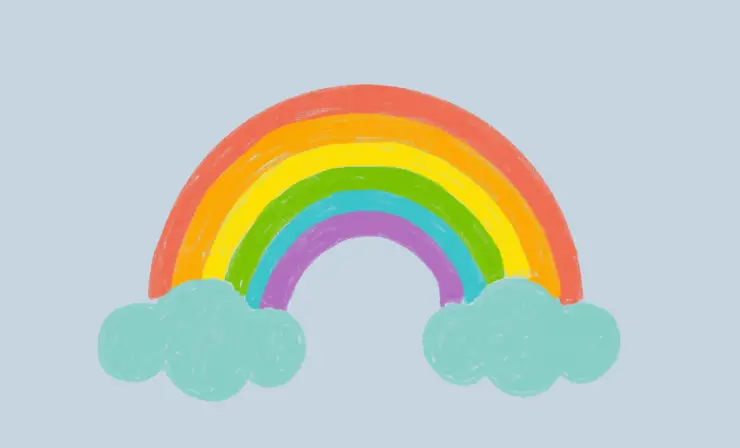
10. Sugar Water Rainbow
Age: for middle schoolers
Let your kids explore the world of science and have some fun in the process. This experiment is perfect for all ages, from youngest to oldest – with just a few common items around your home they can experience an exciting journey into density and buoyancy.
What You’ll Need:
- Food colorings (preferably in rainbow colors including red, orange, yellow, green, blue, purple)
- Water
- A clear straw
- Sugar
- 6 cups
- Tablespoon
Instructions:
- Pour equal portions of water into each cup and mix up the rainbow with food coloring.
- Start with no sugar in the first, one tablespoon in the second, two tablespoons in third glass – keep going until your cups are filled to their sugary tops.
- Use a straw to create an indoor rainbows by sucking out only half an inch from each cup then covering it quickly when you pull it back up so that not too much liquid falls through.
- Enjoy this fun experiment as colors collide on its way down your homemade sugar rainbow creation.
- With a swift motion of your thumb, alternate between the solutions to get two layers in one straw.
- Start with the least sugary mixture and end at five tablespoons for a unique rainbow effect!
- Make sure you plunge that straw deep too – we want each color layer an inch below water level.
When comparing two cups of water with the same volume, one containing more sugar will have a higher density. This plays an important role in determining buoyancy – enabling us to create beautiful and mesmerizing rainbow-like visuals through contrasting solutions!
Inserting a straw from least sugary towards most creates this effect as denser substances fall below less dense ones, keeping colors separate and distinct.
Subject: Chemistry
11. Painted Nature
Age: for all ages
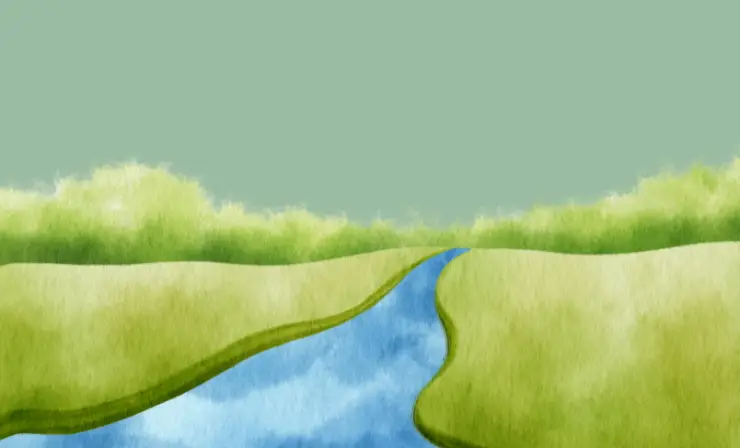
This activity will give kids the opportunity to explore nature up close and become scientists in their own right. They’ll use all of their senses, from sight to touch, as they observe natural phenomena and search for evidence of life and growth around them!
What You’ll Need:
- Natural objects in nature
Instructions:
- Ignite your child’s curiosity and imagination by heading outdoors to ‘mine’ nature.
- Have them fill their bag with unique treasures like intriguing sticks, extraordinary leaves, captivating rocks and twigs.
- Then take these fascinating finds back home or into the classroom for a closer look— what better opportunity to paint out of this world masterpieces?
- As you paint, explore the nuances of nature’s colors and textures: feel the velvety smoothness of petals or discover how sunlight reflects off leaves.
- Express your observations through each brushstroke as you bring these objects to life
Watch this video to understand how you can do this.
Subject: Biology
12. Magnet Dump
Age: for young kids
Kids can use magnetism to explore the wonders of science. This activity is a fun way for youngsters to exercise their classifying and sorting skills in an educational environment.
What You’ll Need:
- Magnet
- Metal objects

Instructions:
- Dump an array of metallic items onto a table and sort through them with some handy magnets.
- Talk about what sticks, why it does so, and which other objects they’re curious to test out next.
- Who knows -maybe magical forces are at play?
There’re other experiments with magnet, watch this video to learn more.
Subject: Physics
13. Traveling Rainbows
Age: for any age
Kids of any age will be captivated by the power of capillary action- or how water moves through tiny tubes. Engage your little scientists in this fun experiment to show them exactly how plants get their essential nutrients.
What You’ll Need:
- 6 glasses or jars
- Paper towels
- Food coloring (red, yellow, & blue)

Instructions:
- Start by folding six sheets of paper towel lengthwise, then cut to fit them snugly into the glasses.
- Next, squirt generous amounts of red food coloring in one glass and yellow in another – no color for two empty ones between each colored pair.
- Fill up each glass until almost overflowing before dipping that end of the folded paper towels inside – be sure not fill full or it won’t work its magic.
- Sit back as you watch this fascinating science experiment play out over twenty minutes; observe droplets delightfully march across those colorful bridges like miniature works-of-art on parade.
Capillary action allows colored fluids to defy gravity and climb up a paper towel, similar to how water moves through plants from their roots all the way out into leaves at treetops.
In this video, you can find complete instructions for the experiment.
This process is made possible due to adhesion between molecules in liquids like water and cellulose fibers found within paper products. Witness this incredible act as it defies physics right before your eyes.
Subject: Chemistry
14. Will It Melt?
Age: for any age
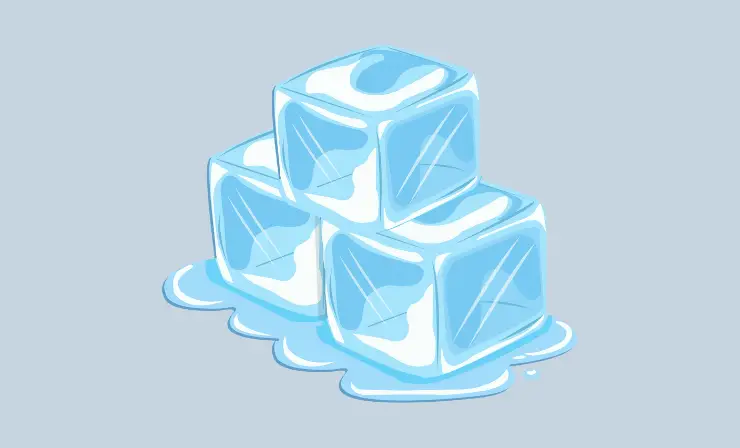
In this educational experiment, they’ll explore heat and its impact on common objects around us. It’s time to put those science skills to work – how will different materials react when exposed to extreme temperatures? Get ready for thrilling discoveries: Will it melt or not?
What You’ll Need:
- A range of materials
- A muffin tin
Instructions:
- Gather several materials around and challenge them to gather what they think will be affected in extreme temperatures.
- Place these items into muffin tins so that each child has their own set of experiments ready for testing on those sweltering days.
Challenge your kids to explore the science of melting with a fun and safe experiment. Ask them what they think might survive being put in a hot muffin tin.
Then let their imaginations take over–but remember, be careful about what you allow into the mix or you could risk starting an unwanted fire or damaging your pan.
Subjects: Chemistry, Physics, Biology
15. DIY Parachute
Age: for any age
Uncover the laws of gravity from home. All it takes are a few materials around the house and some creative thinking – let those experiments take flight as you explore different strategies for an exciting science adventure.
What You’ll Need:
- Plastic Bag
- Yard/String
- Paper Cup
- Scissors

Instructions:
- Gather materials needed for the DIY Parachute – a plastic bag, scissors, four pieces of yarn (10-12 inches long), and a paper cup
- Use the scissors to remove the handles from the plastic bag
- Poke four holes around the plastic bag so that they are all equal distance apart and on opposite sides of the bags
- Cut four holes into the rim of the paper cup
- Thread one piece of yarn through each hole in both items (plastic bag and paper cup) and tie a knot at each end
- Personalize your parachute with stickers, paint, crayons or markers
- Find an object to place inside your parachute before launching it in air
- Experiment with different objects placed inside your parachute to see how it affects flight time
- Try creating parachutes using different material such as a paper towel or napkin instead of a plastic bag
- Enjoy watching your parachute fly
See how changing things up affects the performance of your parachute – give it a go with materials like paper towels or napkins, and witness its capabilities as they take flight.
Subject: Physics
16. Steel Wool & Vinegar Reaction
Age: for middel schoolers
This experiment offers a tangible understanding of abstract concepts like chemical reactions and rusting, making them easy to grasp.
What You’ll Need:
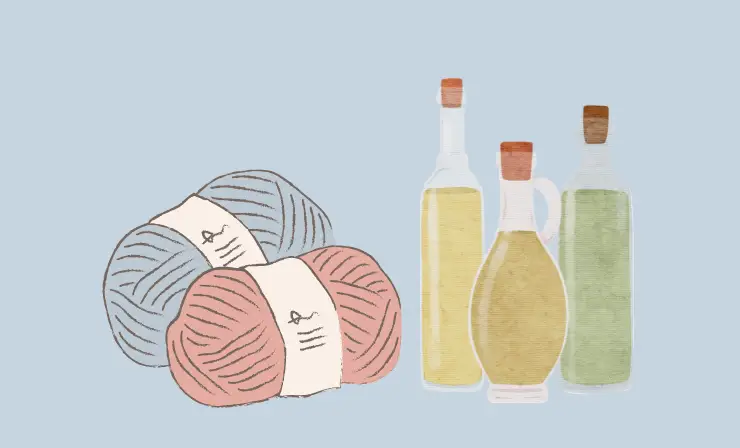
- Steel wool
- Vinegar
- Two beakers
- Something to cover the beaker
- Thermometer
Instructions:
- Fill a beaker with vinegar and submerge the steel wool for about one minute, then remove it and secure around your thermometer.
- Seal up the other beaker to trap in heat but make sure you can still monitor temperatures by poking holes if necessary
- Now observe as this reaction takes place – record down your initial temperature reading before letting time pass for five minutes – what kind of transformation will transpire?
When you put the steel wool in vinegar, it removes its protective coating and allows iron from the steel to rust. This process is called oxidation – a speeded-up version of what happens naturally over time.
You’ll notice how quickly energy is released as heat through this exothermic reaction: your thermometer will rise steadily and steam forms in the beaker.
Subject: Chemistry
17. Invisible Paint
Age: for any age
Unleash your kid’s inner spy with this exciting experiment. All it takes is some simple materials and they’ll be able to write coded messages that only science can decode. It’s sure to inspire a fun day of top-secret communication.
What You’ll Need:
- Cotton swab
- Lamp or light bulm
- Plain white paper
- Bowl or cup
- Lemon juice
Instructions:
- Gather materials needed for the experiment, including a lemon, cotton swab, bowl or cup, and plain white paper
- Squeeze the lemon juice into a bowl or cup and mix in a few drops of water
- Dip the cotton swab into the lemon juice / water mixture
- Write a secret message or draw a secret picture onto the plain white paper using the cotton swab
- Wait for several minutes for the paper to dry and for the juice to become invisible
- Hold your creation close to a light bulb or lamp and reveal your secret messages!
- Discuss safety rules when conducting experiments at school
The carbon compounds in lemon juice are normally colourless, but when exposed to heat and air, they oxidize – transforming into an eye-catching brown that makes words suddenly appear.
Subject: Chemistry, Physics
18. Orange Fizzle
Age: for any age
Explore the exciting world of acids and bases with this fun sensory experiment. With minimal supplies required, you can enjoy discovering how these elements interact.
What You’ll Need:
- Orange or clementine
- 1/2 teaspoon baking soda
Instructions:
- Gather the materials needed for the experiment – an orange, a knife, and baking soda
- Cut the orange into sections
- Take one of the sections and dip it in baking soda
- Take a bite of the section with baking soda on it
- Observe what happens as you chew – bubbles will start to form in your mouth
- Explain what is happening – citric acid from the orange and base from the baking soda are mixing together, creating carbon dioxide bubbles
- Discuss safety rules when doing this experiment at school or home
Subject: Chemistry
19. The Magic of Dry Erasing
Age: for all ages
Unleash your artistic skills and watch as the artwork you create starts moving on its own. Experiment with this fun, simple process to bring your drawings into a new dimension.
What You’ll Need:
- Glass Plate
- Dry Erase Marker
- Water
Instructions:
- Gather the materials needed for this easy science experiment for kids – a plate, dry erase marker, and water
- Draw a picture on the plate with the dry erase marker – stick figures are easy to start with
- Slowly pour water onto the plate and watch as your drawing lifts up
- Make your drawing move around by swirling around the water in different directions
- Observe what happens when you pour more or less water onto the plate
- Discuss with your students what happened during this easy science experiment and why it works – explain that ink pigments dissolve in alcohol but become solid when wet, so they slide off of glass surfaces when exposed to moisture
- Clean up any messes made from The Magic of Dry Erasing before moving on to other experiments.
You’ll never look at a dry erase marker the same way after spending a few minutes with science guy Steve Spangler
Subject: Chemistry
20. Exploding Soaps
Age: for all ages
Forget traditional cleaning methods; with just soap and a microwave, you can guarantee sparkling cleanliness.
What You’ll Need:
- Ivory Soap
- Microwave
Instructions:
- Gather all materials needed for the experiment, including a bar of Ivory soap and a microwave-safe bowl
- Place the bar of soap in the bowl and put it in the microwave
- Heat up on high power for two minutes
- Watch as the soap grows, due to air bubbles expanding when heated
- Allow time for the foam and bowl to cool before touching them
- Explain what is happening with easy science experiments for kids – small air bubbles expand when heated which causes the solid state of soap to stay expanded after heating
In this Science video, Prince teaches us what happens when we place two different types of soaps inside a microwave.
Subject: Biology, Chemistry
21. Floating Eggs
Age: for young schoolers
With this experiment, your students’ll be able to observe how objects behave differently in fresh versus salt water. Watch them expand their knowledge of the natural world right before your eyes.
What You’ll Need:
- 2 Egg
- Salt
- Water
- 2 tall drinking glasses
Instructions:
- Gather your materials – two glasses, water, and 8 tablespoons of salt
- Fill one glass with water
- In the second glass, fill it with water and add 8 tablespoons of salt. Mix it up to dissolve the salt
- Place an egg in both glasses – one will float and the other will sink
- Explain what’s happening- adding salt to the water increases its density which causes the egg to float
- Provide easy science experiments for kids that can be done at home or school safely following safety rules
Watch how the SICK Science did such an experiment.
Subject: Physics
7 Safety Rules for Experiments at School
Safety is of paramount importance when conducting experiments at school.
All students should be made aware of the potential risks in the lab and take special care to ensure their safety.
When working in a laboratory, all students should wear protective clothing such as eye goggles and gloves to protect themselves from hazardous substances. Additionally, it is essential that students understand the importance of reading and following instructions carefully.
- Read and understand the instructions before beginning any experiment.
- Wear proper protective gear, including eye goggles and gloves, when handling materials in the laboratory.
- Work in groups of no more than two students per experiment.
- Make sure all equipment is handled carefully and stored securely after use.
- Ensure that any hazardous substances are kept in a secure location and handled with care.
- Do not eat, drink or smoke in the laboratory.
- Follow all safety procedures as outlined by the teacher or lab supervisor.
With these easy science experiments for kids, students can explore a variety of topics such as chemistry, physics and biology without being overwhelmed.
I suggest you watch this video and then show it to your students.
Useful Resources
- Study Strategies for Chemistry
- 8 Teaching Tips to Make Chemistry Fun
- 8 Creative Ways to Teach Biology without Lecturing
Conclusion
By following the easy science experiments for kids outlined in this article, students can gain a better understanding of topics like chemistry, physics and biology. With these simple steps to follow and safety rules to adhere to, they can explore their scientific curiosity without compromising on safety or accuracy. The key is to read instructions carefully while also taking into account any potential risks associated with each experiment. By doing so, students will be able to learn more effectively while staying safe at all times!
- Overview of 22 Low-Code Agencies for MVP, Web, or Mobile App Development - October 23, 2024
- Tips to Inspire Your Young Child to Pursue a Career in Nursing - July 24, 2024
- How Parents Can Advocate for Their Children’s Journey into Forensic Nursing - July 24, 2024
