Unleashing a world of possibilities, middle school science fairs and experiences present the perfect opportunity for students to engage in captivating projects. Sometimes beginning such an adventure can be daunting, as it may not be clear how young learners should go about tackling their experiments.
Nevertheless, with some creative thinking, there’s plenty of potential to make these activities both enjoyable and achievable.
Especially for my readers, I have prepared a list of 14 science experiments for middle school students:
| Experiment | What You’ll Need |
|---|---|
| 1.Crystals → |
|
| 2. Copper Plate Coins → |
|
| 3. A Solar Oven → |
|
| 4. Dissect a Flower → |
|
| 5. Homemade Thermometer → |
|
| 6. Test pH → |
|
| 7. Oil Spills → |
|
| 8. Water Clock → |
|
| 9. Purify Water → |
|
| 10. Hanging Compass → |
|
| 11. Grow Box → |
|
| 12. How Color Influences Memory → |
|
| 13. Da Vinci Bridge → |
|
| 14. Find Out How Sugary Drinks Affect Teeth → |
|
Let’s take a closer look at each of the experiments.
1. Crystals
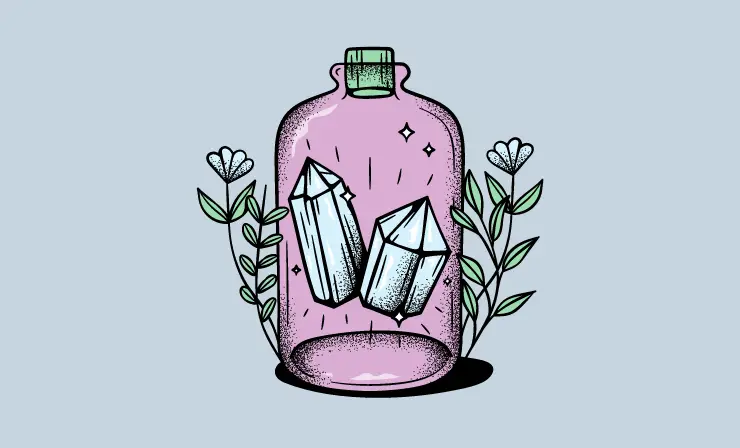
With crystal growing, students of all ages get to discover a world of endless possibilities. From experimenting with the different stages during production and refining them until you reach your desired shape – like making an impressive flower design – it’s certain to be full of fun for everyone.
What You’ll Need:
- A real or fake flower
- Borax
- Hot water
- Food coloring
Plan:
- Boil some water, mix in borax and food dye to create a colorful solution.
- Carefully place your flower into the cup for several hours or overnight, so it can be transformed by magical crystals
- Once done, take out and see its transformation from an everyday petal to something unique that will amaze you.
Unleash your creativity and amaze even the biggest skeptics with this delightful experiment! It’s simple to set up yet produces stunningly beautiful results that will be sure to captivate students.
Here’s a video of Steve Spangler to sharing his latest crystal growing secrets using simple materials you can find around the house.
2. Copper Plate Coins
With the process of electroplating, you can easily bring a new level of artistry and excitement into something as ordinary as coinage.
Utilizing copper along with electricity, anyone is able to create unique designs on coins in no time! Besides being fun, this activity makes for an excellent educational experience too.
What You’ll Need:
- A plastic cup
- Distilled white vinegar
- Two alligator clips (one red and one black)
- Two copper strips
- A nickel or quarter
- A 9v battery
- Battery snap
- Masking tape
- Scissors
- Rubbing alcohol

Plan:
- Start by filling up your cup almost two inches high with some ordinary white or apple cider vinegar
- Then attach one end of the alligator clips to either side via small pieces of tape labeled “+” and “-“
- Submerge the copper strips at their opposite ends into the liquid for about three hours until it’s turned an intriguing greenish blue
- Grab that battery snap, place your battery inside and connect its leads before taking out those still-damp clips from earlier – but instead insert a cleanly rubbed down coin this time around.
- Give it fifteen minutes more underwater before removing when finished – voila, you have yourself a polished new piece of gorgeous custom currency coated in shiny metallic sheen.
Watch this video to fully understand how to conduct the experiment.
For an extra creative touch, you can spice up your project by taping on funky designs and patterns to the coin before plating it – get ready for a unique design that’s as eye-catching as it is fun.
3. A Solar Oven
Solar energy is more essential now than ever, and it’s surprisingly simple to teach children how it all works. By having them design their own solar ovens, they can take greener cooking projects on the go while camping or just at home.
What You’ll Need:
- A cardboard pizza box
- A pencil
- A ruler
- Scissors
- Foil
- Clear tape
- Black construction paper
- Plastic wrap
- Newspapers
- An oven mitt
- A dish
- A thermometer
- Cooking ingredients (avoid raw meat)

Plan:
- Start by cleaning out any leftover cheese and crumbs.
- Then draw a square one inch from the top of the box before cutting out three sides to form an upright flap.
- Wrap it tightly with foil and secure it with tape for durability.
- Line the bottom of the container with some black construction paper before taping two pieces of plastic wrap across inside edges to create an airtight seal – just don’t forget those rolled up newspapers stuffed in all four corners as insulation.
- Finally, use Mother Nature’s own ovens (the sun!) between 11 A.M.-2 P.M., whose heat is sure to cook something deliciously unique along this DIY journey you have embarked on!
With a bit of patience, determination and some know-how, this project is definitely within the reach for any young student. Plus – not only will you be learning essential skills, but there’s also the delicious reward at the end.
4. Dissect a Flower
Dissection is both an effective and engaging way to teach anatomy – but it can be tough for younger classes when the cost or contents don’t quite fit. That’s why flowers have become a great alternative: they offer up just as much knowledge, with little messiness and even less fuss.
What You’ll Need:
- Flowers with easily identifiable parts
- A scalpel
- Pins
- Materials to draw
- Label the parts of the flower

Plan:
- Carefully instruct students how to properly use a scalpel to make educated incisions and locate relevant parts of the flower like the pistil, stamen and others.
- Use the pins to keep the flower open and make it possible to really study the insides of the plant. During this time, students can draw what they are seeing and label each part as they are able to identify it.
- Chart the different lengths of the flowers each student is dissecting to open up discussion on how these differences may have occurred and how they make impact the flowers’ fertility.
Starting with simpler dissection exercises can be an exciting way to introduce students to the fascinating and intricate world of anatomy.
I suggest you watching this video, in order to fully understand the proces of the experiment.
5. Homemade Thermometer
Thermometers have an impressive history of being essential to many parts of our world, such as health and the environment. Believe it or not – making your own thermometer is just a few steps away.
What You’ll Need:
- Modeling clay
- Red food coloring
- Water
- Rubbing alcohol
- A clear straw
- A clear plastic bottle
- A thermometer
Plan:
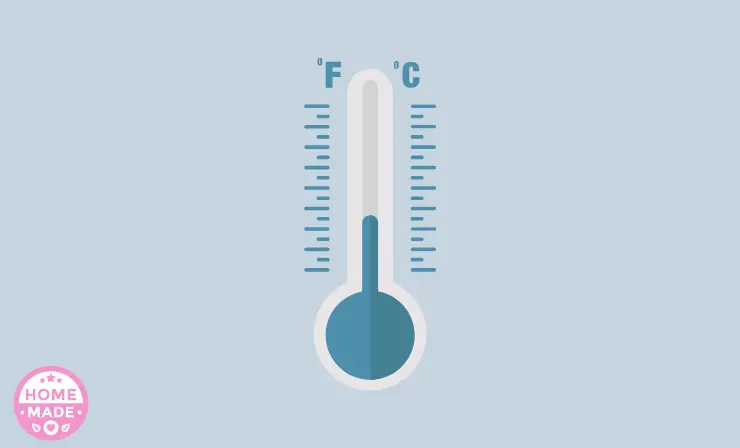
- Combine water, rubbing alcohol and a few drops of food coloring to create an experiment that will amaze you.
- Create a leak-proof seal by wrapping modeling clay around the straw and bottle opening before placing it inside – but be sure to leave some uncovered
- Finally, test your thermometer works as expected; watch in wonderment at how heat causes the liquid mixture to rise up through the straw – red hues dancing across its surface.
With just a few simple steps, you can make your own thermometer and explore how heat affects the world around us.
6. Test pH
Show your students how to turn middle school science into a fun and educational experience by testing pH levels with something as common (and delicious) as cabbage.
What You’ll Need:
- A red cabbage
- A pot
- Water
- Test tubes
- Eye droppers
- Bleach
- Orange juice
- Cola
- Shampoo
- Window cleaner
Plan:
- Start by chopping up your quarter head and adding it to a shallow pot.
- Simmer until you can start detecting its purple hue, then strain out the contents before transferring them into test tubes.
- Now comes the exciting part – as you add acids or bases, watch in wonderment as they cause an immediate color change – turning solutions crimson for acid substances or greenish-tinted when combined with basic ones!
- Don’t forget to write down each result on a handy worksheet so that all your experiments are recorded accurately and safely.
Students can now explore the mysterious world of acids and bases in a fun, creative way. By testing different items with this method, students will develop an understanding of the general level of acidity. Unlocking secrets never seemed so easy.
After watching this video you’ll get understanding pH scales and identifying acidic and basic materials.
7. Oil Spills
Students may not be aware of the powerful tool human actions can take on our environment. While we’ve all seen pictures and videos from past oil spills, it’s only when students come face to face with how those events have profoundly impacted wildlife that they truly grasp their significance.
What You’ll Need:
- Water
- Liquid soap
- Corn oil
- Vegetable oil
- A toothbrush
- A feather

Plan:
- To find out how different substances interact with a feather, create a chart that compares water, oil and liquid soap.
- Observe whether the feather is absorbed or repelled when placed in each one of these liquids – noting any changes along the way.
- Splash some soapy water onto an oil-drenched feather to learn about its cleaning power, before finally measuring success by taking note of how easy it was (or wasn’t!) for your feathered friend to return to its original state!
This experiment will illustrate the devastating consequences of oil spills on our environment. It reveals how something as simple and harmless as a feather can be compromised, robbed of its ability to stay warm and dry due to contact with just one drop of oil.
Students will get a crash course in the major consequences of oil spills after watching this educational video.
Let this serve as an important reminder for us all to do whatever we can in protecting nature from further harm.
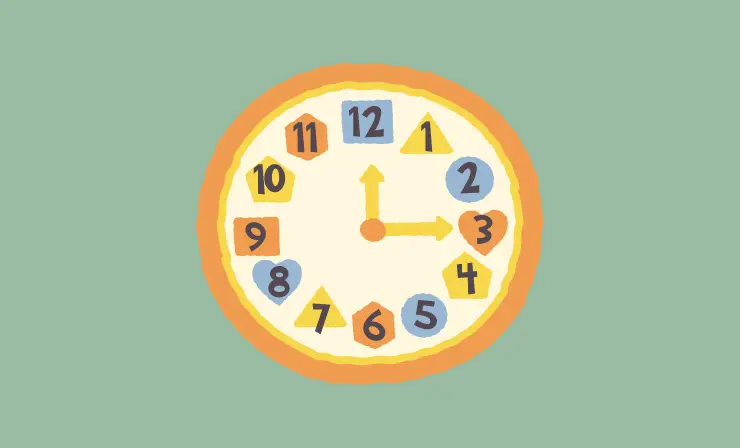
8. Water Clock
Water’s passage of time can be tracked by two distinct clocks. Inflow water clocks collect the liquid into a vessel, allowing users to measure its accumulation along graduated markings. Alternatively, outflow versions record how many escapes from their containers in order to calculate minutes and hours gone by.
What You’ll Need:
- Styrofoam or Plastic Cup
- Small Bell
- Small Plastic Lid – a pop bottle cap or milk jug cap works great
- String or yarn
- Toothpick or similar for poking a hole
- Bead (optional)
- Glass Jar
- Popsicle Stick
- Scissors
Plan:
- Use a toothpick or something similar to poke a small hole through middle of plastic lid and bottom of styrofoam cup.
- Cut the string to length. To do this measure the distance from the top of the cup to just above the bottom of the cup.
- Then add a bit more length to ensure you have enough for tying on the cap and the bell.
- Run string through the hole you made in the plastic lid. To secure it, tie bead to one side of string (this keeps the yarn from slipping through) or create a large knot. The goal is to simply prevent the string from pulling through the hole.
- Tie a small bell to other end of string.
- Adjust your knots as required to ensure the string is the proper length.
- Place popsicle stick over top of cup and balance the bell on the end of the string on the popsicle stick, while the lid hangs down into the cup. Hold it in place while you fill the cup with water.
- The cap will float while the bell remains balanced on the popsicle stick.
- Immediately after adding the water you will notice the water starts dripping out of the bottom of the cup and into the jar and the water level will start going down. When the water drains outs, the bell will be pulled into the cup. The sound of the bell is your alarm.
Watch this video and try to make your own water clock.
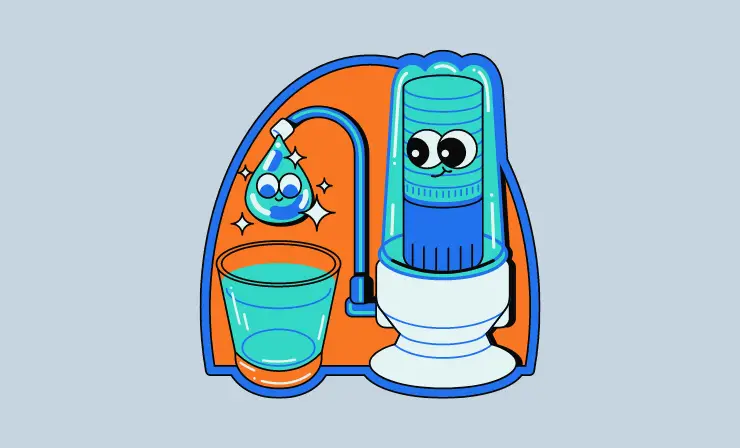
9. Purify Water
With tap water becoming less and less reliable, it’s no surprise that so many are turning to filtration systems for their drinking needs. But how exactly do these machines in our homes get rid of contaminants?
Unveil the mystery behind clean and safe drinking with a closer look at this increasingly popular method!
What You’ll Need:
- A measuring cup
- A teaspoon
- Two baby food jars
- Water
- Activated charcoal
- Red food coloring
Plan:
- Mix ½ cup of water with 8 drops of food coloring
- Then fill up two jars halfway
- Sprinkle in 2 teaspoons of activated charcoal to one and secure the lids on both
- Observe what happens over the course four days
This experiment is not only compelling and easy to do, it also promises an enriching outcome – students gain a newfound appreciation for fresh, filtered water. What better way to teach the importance of clean H2O in this day and age?
Watch this video and learn how to do own water filter using simple materials.
10. Hanging Compass
With a hanging compass experiment, students will have an incredible opportunity to experience the power of Earth’s magnetic field! Explore how magnets influence behavior with this stimulating and educational lesson.
Discover together why compasses always point north and uncover secrets about magnetism in your classroom – it’s sure to be fascinating for everyone involved.
What You’ll Need:
- A magnet
- A large steel sewing needles
- A few smaller steel needles
- Pencil
- A string
- A wide-mouthed jar or cup

Plan:
- Unlock the power of your large needle and magnet combo – give it 30-50 rubs on a single end to realign its electrons
- Еhen test out how strong this powerful pair is.
- Attach one side of thread around your now magnetic needle in the middle and tie down the other half at mid-pencil length before laying across an open jar’s mouth – watch as your perfectly aligned neodymium points north!
With a few simple materials and your own ingenuity, you craft an amazing compass to demonstrate the power of magnetism in Earth’s natural field – how impressive.
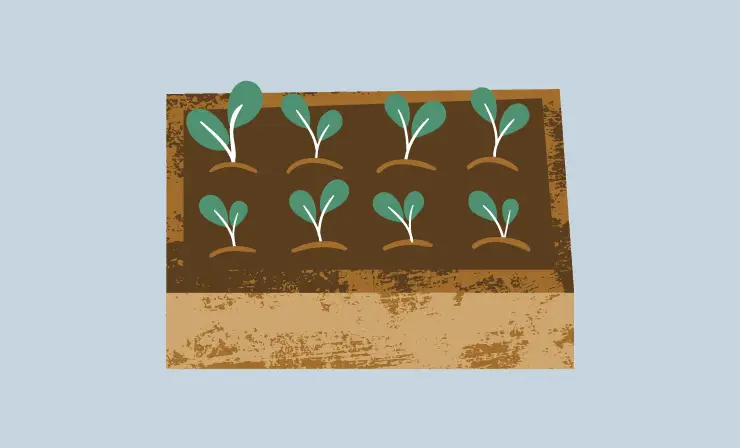
11. Grow Box
As the warm days of summer fade, a chill creeps in that demands we put on layers before stepping outside. Our gardens go dormant as plants wilt and our own homegrown produce bows out for the season.
It’s with sadness that I bid goodbye to those freshly picked veggies from my garden – always providing so much more satisfaction than store-bought varieties!
What You’ll Need:
- A computer paper box
- Aluminum Foil
- Glue Sticks
- A knife
- Light Bulb Socket
- 15 Watt Fluorescent Light Bulb
- Old Plastic Lid
- Planting Pots
- A trey or other pot to catch the water
- Seeds
- Potting Soil
Plan:
- Lining the inside of an empty computer box with tinfoil – use glue stick or double sticky tape to make sure it’s secure.
- Cut out a round hole on one side so that the top is exposed
- Add aluminum curtain over this opening in order to keep heat trapped within.
- Now get started planting: fill some pots with potting soil, place seeds onto them, then pour water – don’t forget to also screw in an interior light bulb as well.
- With appropriate care and attention (and plenty of watering),soon enough sprouts should start appearing after just 1 week.
- Get green-fingered now for amazing results later
Witness the wonder of growth and life with your kids! Planting in our easy grow box ensures there’s no lack of excitement even during winter. Watching tiny seeds turn into plants is sure to bring a smile on everyone’s face.
Here’s a video with 5 variations of cheap grow boxes.
12. How Color Influences Memory
Is there a certain hue that unlocks improved memory recall? Could the shade of your notes and flashcards be helping or hindering you in retaining information? Explore how colors can elevate nuance during study sessions.
What You’ll Need:
- A variety of colored pens or markers
- Index cards
- Participants
Plan:
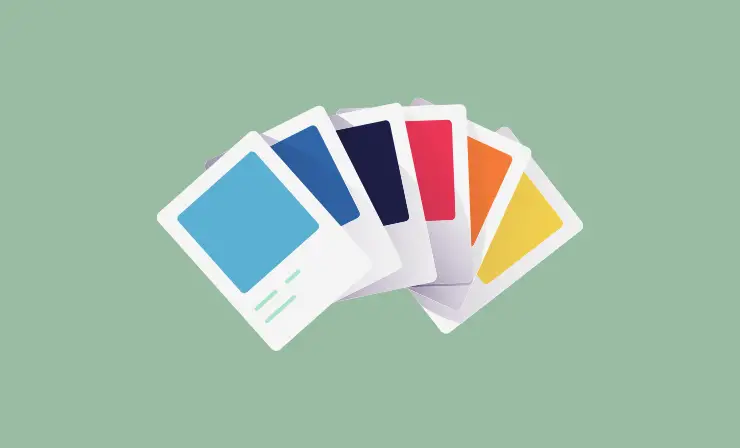
- Gather willing participants from classrooms, offices or even online communities, select a few dates in history with corresponding events written on three sets of index cards.
- Black marker can be used for control group, colors that match emotional responses to certain events (like red for danger) is recommended as well
- Whereas random color should represent third set – all aimed at testing long-term memory potentials through oral or written examinations without additional study time needed afterwards.
This simple middle-school science experiment isn’t just a fun activity – it gives students an excellent opportunity to learn skills that can help them be successful with any subject.
This video has a lot to say about how color affects our mood and behavior.
13. Da Vinci Bridge
This modern engineering experiment breathes new life into a 500-year-old design from the master of innovation, Leonardo da Vinci. It stands apart among other bridge building experiments and is sure to make an impact.
What You’ll Need:
- 8 pencils with 3 rubber bands
- Loom bands
- 4 pencils with 2 rubber bands

Plan:
- Gather all the supplies you need to build the Da Vinci Bridge. You will need 8 pencils with 3 rubber bands, 4 pencils with 2 rubber bands, and loom bands of a similar size for extra friction.
- Mark out where you want the rubber bands to go on each pencil. For the pencils going on the sides of the bridge, you want to make sure the rubber bands are all lined up at about the same locations.
- Start building the bridge by putting pencils in position with rubber bands attached. Make sure both sides are symmetrically balanced during construction and no misalignment occurs.
- Secure the bridge by wrapping loom bands of similar size around each pencil to increase friction. This will help the bridge stay in shape and keep it from collapsing due to misalignment or imbalance.
- Once the bridge is completed, you can decorate it with extra decorations such as ribbons, streamers
Watch this tutorial on how to build your own the Da Vinci Bridge.
14. Find Out How Sugary Drinks Affect Teeth
We all know that sugary drinks can have adverse reactions on our health, but what happens when we show young students the extent of those effects?
Seeing firsthand how soda and juice wreak havoc on teeth could be an eye-opening experience for them.
What You’ll Need:
- 5 eggs
- 5 cups
- Masking tape
- Water
- A dark sugar-free drink like gatorade
- A dark juice like grape juice
- A dark soda like cola
- An orange juice
Plan:
- Label each cup with its special beverage
- Add the eggs and place them in a secure area
- Monitor your progress every few hours
- After 24 hours of incubation, watch as the eggshells give you an intensified idea of how these drinks are impacting teeth like ename
Through this experiment, students can gain an insightful understanding of how sugary drinks affect their teeth – along with the spark to keep their pearly whites squeaky clean.
Here’s an example how one of my colleagues experimented with her students.
Students in #PAGrade8 performing controlled experiments to determine which reactants are responsible for the changes observed in a chemical reaction. ?? ? #PAExplore @PA_Sciences pic.twitter.com/tT2Ew1Shpl
— Middle School | Pulaski Academy (@PA_MidSchool) February 28, 2023
Keep Learning
- 16 Books for Middle Schoolers
- 35 Activities to Keep Kids Busy While You Work or Study
- 20 Ways To Get A Noisy Classroom’s Attention
Conclusion
Overall, these science experiments for middle school are great for teaching middle school students the basics of science. Each experiment has its own unique approach to introducing scientific concepts and principles in an engaging way that will help them understand more complex topics later on.
Whether you’re looking for a fun activity or something educational, these experiments offer plenty of opportunities to explore different aspects of science with your middle schoolers. With patience and guidance from adults, kids can learn a lot about the world around them through experimentation!
- 14 Science Experiments for Middle School — Unlock the Wonders of The World in Your Classroom - February 18, 2023
- Top 11 Sound and Voice Amplifier Apps: Enhance Audio on Your Device with the Best Volume Boosters - January 26, 2023
- 7 Creative Valentine’s Day Poster Ideas to Make Your Space Feel More Festive - January 11, 2023
